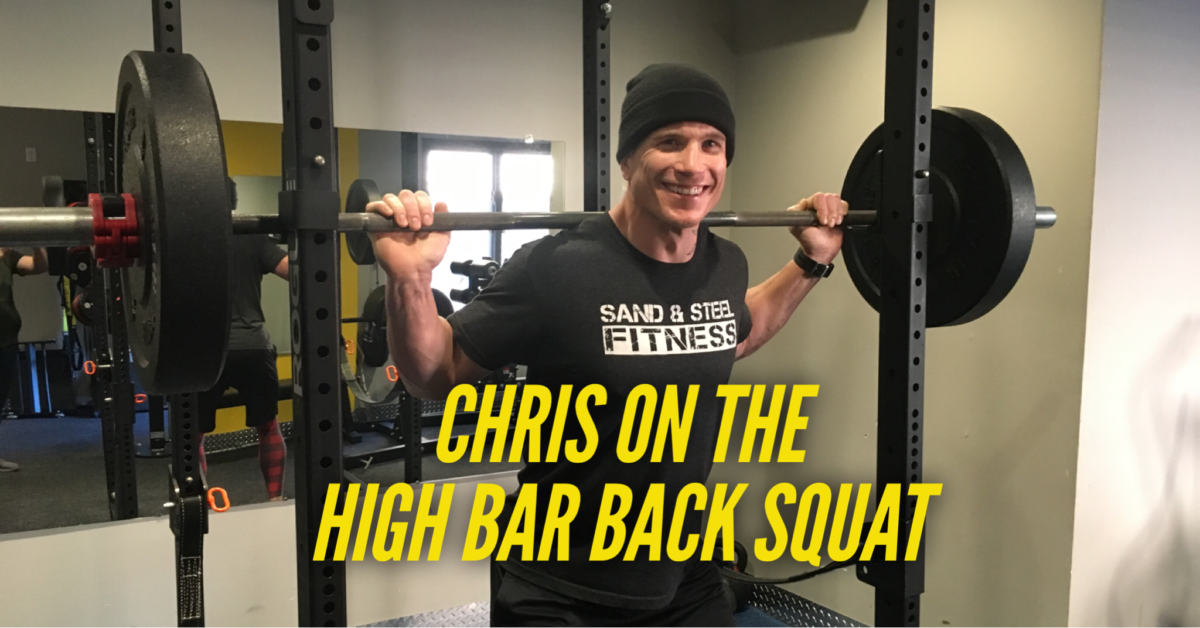
High bar Barbell Back Squat — 13 points of performance to improve your technique on the squat and reduce the risk of injury. This overview discusses techniques to properly generate core bracing to help prevent lower back pain. This article includes video demonstrations on key squat faults such as “butt winking” and “broken wrist faults.”
13 Performance Tips to Improve Your
Barbell High-Bar Back Squat
Squats are probably one of the most important bodybuilding movements you can do. They also can create injury if you don’t do them correctly. Here are 13 tips and points to help you improve your technique. Please also see our newest article on the barbell back squat (high and low bar).

Midline Stability: Creating a neutral spine.
When performing a squat, ensuring the lumbar curve (back) and the abdominals are tightly braced and working together to support the weight in your squat.
But winking can be spotted as a under tilt of the tall bone when not properly braced before a squat. Butt winking (aka Anterior pelvic rotation) generates addition pressure ion the lumbar spine increasing the risk for injury. To reduce butt winking, increase core pressure before initiating the squat, push knees out and reduce depth (not as low).
Wrist Fault on Back Squat
Sitting back into the squat. Proper Line of action.
Initiate the squat by pushing your hips back first. Don’t drop your knees. Dropping at the knees pulls you forward increasing the strain on the knees. In all power-lifting competitions, you have to drop your femurs to parallel with the floor. The term squatting to depth or below parallel means getting your hip crease below your knee.
Core Bracing – Protect the Spine
- Step 1-Screw feet into ground
- Step 2-Squeeze glutes (lock pelvis into neutral position)
- Step 3-Deep breath through your belly
- Step 4-Set ribcage (pull down) tighten abdominals as you exhale
- Step 5-Head and shoulders in a neutral position
Core bracing helps you maintain a neutral spine. Failing to execute the bracing sequences promotes butt-winking and improper spinal alignment.
Balance Along the Frontal Plane
The frontal plane extends to the sides a person. Being balanced along the frontal plane distributes the weight of equally to front (anterior) and back (posterior).
Leg Width
Your feet should be directly below your shoulders. Making your legs wide causes power delivery to be limited and promotes strain in the hip labrum.
Turnout of Feet
Turn fee outwards 10-30 degrees. This allows the athlete to generate initiate torque in the hips (external rotation.) This protects the hips and pelvis by tightening the muscles before loading.
Staying on the Heels
The primary weight distribution placement should be on the heels, away from the toes. Deviating from the bar path can result in improper form and injury. We don’t Squat on our Toes!
Bar Placement on the Rear Delts
Most untrained athletes place the bar on the C-7 vertebrae which creates unnecessary strain on the vertebrae discs. Place the bar as low as you can… supporting the weight of the bar on your read deltoids.
Hand Positioning for the High-Bar Back Squat
With the hands in a 90-degree angle with the elbows or just outside the shoulder and the elbows pulled back. So that hands are placed elbow-width apart. In addition, keep your forearms active so that your wrist are neutral.
“Butt Wink” on the Squat Fault
Look 6 feet in Front of you Towards the Floor
You should look with a straight head. You generally look about 6 feet in-front of your and your eyesight goes down slightly as you descend into the squat.
Chest Up on the Barbell Back Squat
Keeping your chest up help keep the weight of the bar on your heals. Other kinds of squats, such as the low-bar back, use an immature squat pattern (chest down.) When doing a high-bar barbell back squat lift your chest as high as you can.
Neutral Neck Hold the “Apple” Under your Chin
Keep your neck in line with your thorasic spine. Don’t bend or crane your neck. Pretend you are holding an apple under your chin. Definitely don’t turn your neck to check to look in the mirror.
Face the clips
Keep the bar inside the rack, and always re-rack forward. Never walk forward as you remove the bar from the clips.
