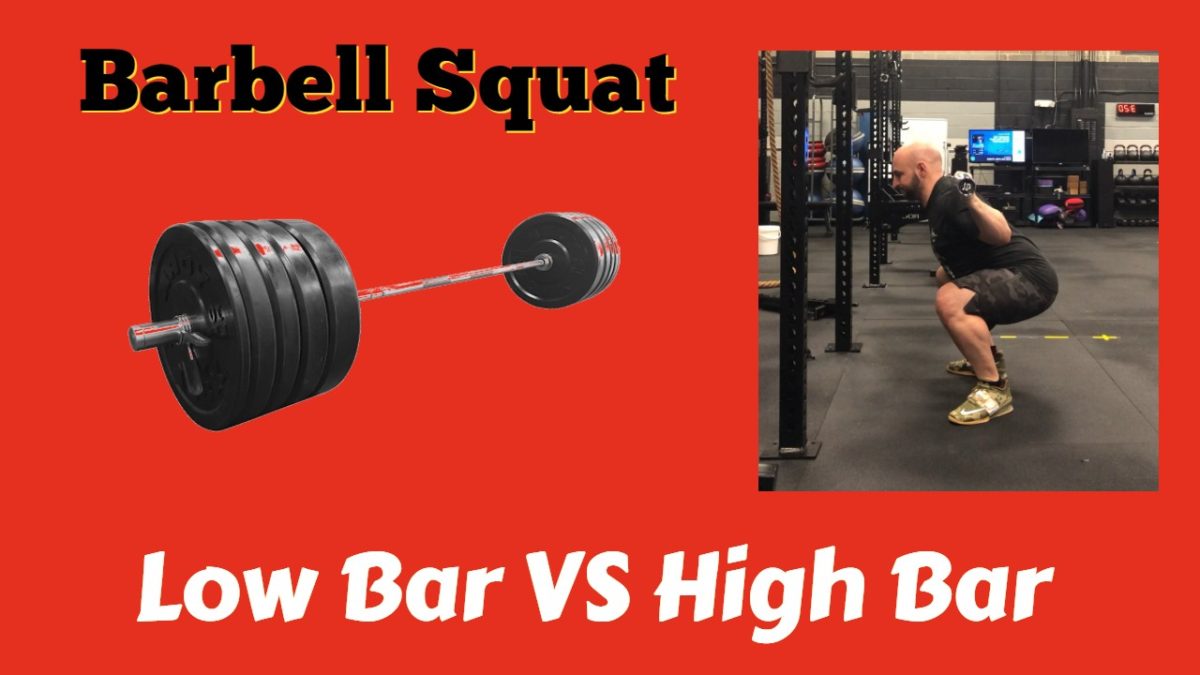
Hi I am Paul Roberts, and I want to talk to you today about the differences between high bar back squat and the low bar back squat. The high squat is what most people consider the back squat. It’s the squat position where we have the barbell just below the C7 vertebrae with our thumbs around the bar. Mark Riptoe of Starting Strength has made this other variation called the low bar back squat. There is some confusion between what the differences are between the high bar and the low bar. I am going to teach you how to do both techniques correctly, explain what the differences are, and show which squat is better for you. If you need information on the deadlift, please checkout these articles on Sumo Deadlift and Conventional Deadlift.
Barbell Back Squat – Elements of Good Form
The high bar back squat and low bar back squat are very similar exercises, but there are a few key differences. One of the sources of the “internet-confusion” comes from the way Mark Riptoe teaches the squat — he teaches a ton of stuff that distinguishes the squat from a lot of the bad form that you see in big box gyms. This teaching style makes his “low bar back squat” seem totally different than the high bar back squat. In reality, the differences between a good high bar back squat and Mark Riptoe’s low bar back squat are very small differences. But in all fairness, Riptoe like all other powerlifting coaches, see terrible form on a daily basis — so I can understand why he teaches the squat the way he does. If you watch the above video, you see that both squats look very similar. Because good squat form, will look the same pretty much regardless as to which company you follow.
Hand Positioning on the Barbell Back Squat
Waist and Hip Angle on the Back Squat
One of the other differences between the high bar and low bar is this waist angle. And the difference is very, very slight slight. In the high bar, I am going to be slightly higher up versus the low bar back squat. Because both techniques of squatting require you keep your barbell straight across the midline. Meaning that when I squat down — and let’s say I am standing on this line –I got to keep the bar path perfectly straight. The moment that lean the bar forwards, I am going to cause a lot of force on my back, which is really going to limit how much I can squat. The low bar and high bar require you to be symmetric across your midline. Midline is the line that divides your body this way. We want the bar straight across our center of gravity — so that there is no extra force on our back.
Butt Wink and Tipping the Fish Bowl
Here are the requirements to avoid tipping your fish bowl too far one way or the other. E.g. doing what we call the butt wink, when come down we collapse the spine. You will see later on in the video, that I will show you exactly what a butt wink looks like with an empty barbell and how to avoid it. The way you avoid butt-winking or doing an anterior pelvic rotation is you pull the muscles up in your back and hold your pelvis in place when you squat down. That may limit your depth until you gain more mobility, but it’s not good to go deeper than you can safely.
Once you require that — and both types of squats require you maintain your pelvis from coming underneath you — so no butt-winking — and you keep the bar path straight and I keep my pelvis in position — the squats really kind of converge into looking very much the same. As you will see in the video below, both squats look very similar. The other key difference between the techniques are basically how they are coached. For example, Mark Riptoe is famous for saying, “Nipples Down.” But we also could say, ” chest out.” It’s really the same thing.
Head Positioning on the Barbell Squat
What we are trying to do is keep our spine straight and our body pressurized. Head position is the same. We are looking down. We have to look down a little bit more, maybe on the low bar back squat than the high bar squat. They are pretty much the same movement. What about differences in how much should be able to do. It should be the same.
Head to Head Barbell Squat
The above shows me doing the same squat at 275 for high bar versus low bar. And the perceived effort is the same. High Bar Back Squat at 275 for 3 reps. Low bar back squat for 275 for 3 reps. You might get a little more hip action and posterior chain on the low bar. And I think that’s why it’s a superior exercise if you ask me. I get more legs, more hips, and that’s great. Whereas the high bar squat, I tend to get a little more quads than I would with the low bar. But at the same time, I need enough shoulder mobility to do low bar. So for some people, if they don’t have enough shoulder mobility, it causes extra problems. They have do more work on their chest, and things like that. And deal with shoulder problems so, unless you have good shoulders… or a speciality barbell like the Duffalo bar, maybe it’s not the best type of technique for you.
Squat Depth of the Barbell Squat
All squat companies, whether it’s Starting Strength, Conjugate, or CrossFit — everyone teaches the same in terms of depth. We are looking for hip crease right below the knee. With a tight pelvis — if you cannot get to here, you have build more strength at your end range, so that you can hold your pelvis in place, because rotating your pelvis forwards or turning up your belt buckle as it would be, is going to cause lower back problems at higher weights.
Foot Turnout 10-30 Degrees
The other difference in squat form is foot turn-out. Starting Strength teaches that you should just turn out as much as you need. The better ankle mobility you have, e.g. more dorsiflexion, the straighter your feet can be. If you don’t have really good ankles, because you played basketball or soccer as youth for example, you’ll have to turn out more, most people have anywhere from 10 – 30 degree turnout. Again, different companies prefer one of the other, either way, it’s still a squat. Trying to keep the weight off our lower back and straight over our center of gravity.
Video References for the Squat
Now, I know that was a lot of information on the squat, and if you have it this far, congratulate yourself on taking learning the technique for the back squat seriously. Despite everything that I spoke about, there is still much more I could say about the squat. So I’ve included six videos that cover important information on the squat.
The first video talks about wearing a lifting belt. Should you wear one? The answer is yes, but watch Barbell Medicine’s video to learn why.
The second video is from CrossFit, and cover the points of performance for a high bar back squat.
The third video is from Greg Everett and it cover the foot positioning on the squat.
The fourth video is also from Greg Everett and Catalyst Athletics. It covers details on why you should wear weightlifting shoes.
The fifth video, Learning to Squat, is Starting Strength’s official video on squat mechanics. You’ll see it’s pretty much the same as I explained in my video (as it should be.)
The sixth video, Rip Coaches the Squat, is some video coverage of Mark Riptoe coaching the squat. I went to his Starting Strength Coach Seminar. He says the same thing every seminar. So, this video is 100% authentic to what Rip teaches in the seminar.